How to Revalidate Next.js ISR Cache? On-Demand Cache Regeneration
💡 Quick Summary (TL;DR):
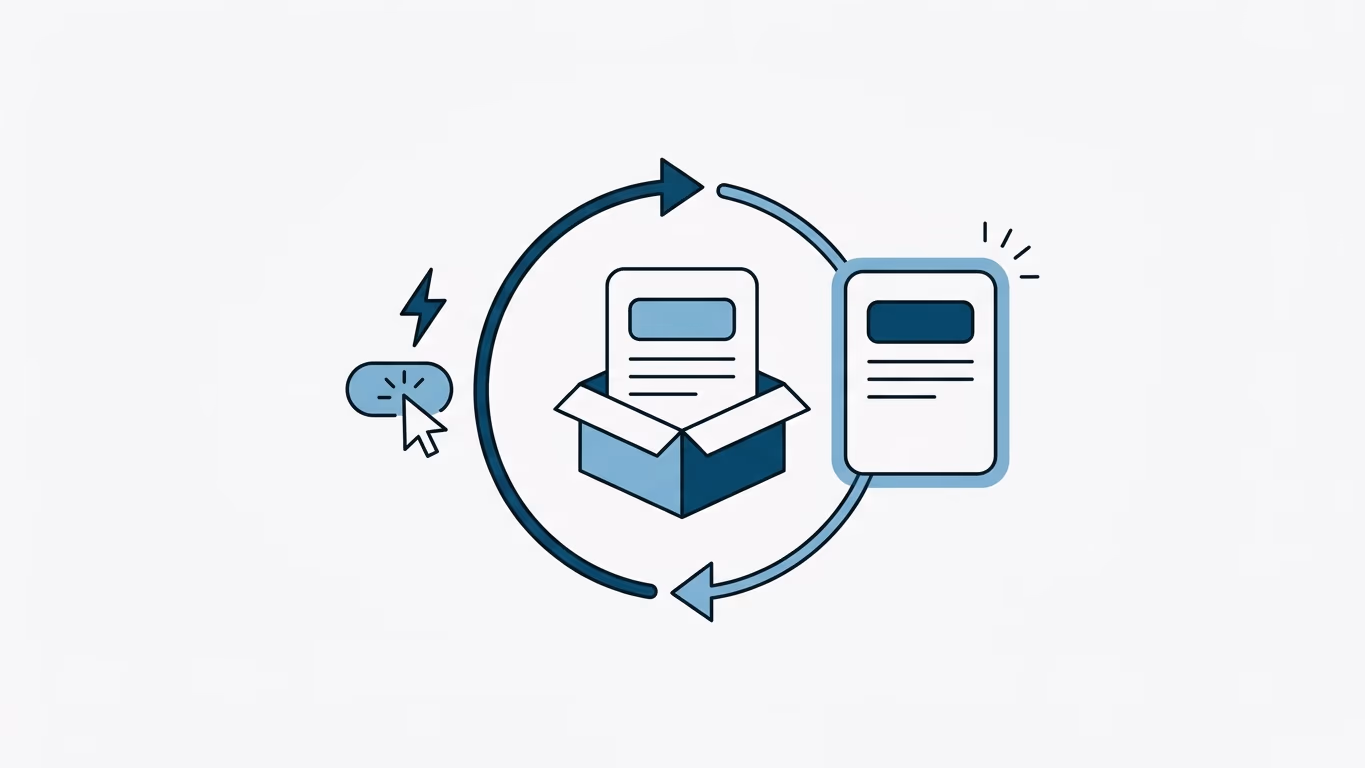
- What is ISR? Incremental Static Regeneration allows Next.js sites to update static pages in the background without rebuilding the entire site.
- What is On-Demand Revalidation? Purging the cache instantly for a specific path via an API endpoint, rather than waiting for a predefined interval (e.g.,
revalidate: 60).- Pages vs. App Router: Pages Router uses
res.revalidate(), while App Router (Next.js 13+) introduces route-basedrevalidatePath()and tag-basedrevalidateTag()methods.
Next.js allows you to create or update static pages after you’ve built your site. Incremental Static Regeneration (ISR) enables you to use static-generation on a per-page basis, without needing to rebuild the entire site. On-demand revalidation, which was introduced in version 12.1, was the primary reason I chose Next.js over Nuxt.js when building my headless WordPress setup. A few months later, Nuxt.js introduced a similar feature, bringing Nuxt (Vue) back into the game.
Starting with v12.1.0, Next.js introduced experimental On-Demand Incremental Static Regeneration to manually purge the cache for a specific page. With version v12.2.0, the feature became stable. Changing the function name from unstable_revalidate() to revalidate() was a breaking change for sites using the experimental feature. I spent an hour fixing revalidation when my site suddenly stopped regenerating the cache.
Next.js Revalidation Methods Comparison
| Feature / Method | Pages Router (res.revalidate) | App Router (revalidatePath) | App Router (revalidateTag) |
|---|---|---|---|
| Usage Location | API Routes (pages/api/...) | Route Handlers / Server Actions | Route Handlers / Server Actions |
| Targeting | Path-based (e.g., /blog/post-1). | Path-based (static path or dynamic /blog/[slug]). | Tag-based (associated with fetch data tags). |
| Execution | Rebuilds the specific page HTML on demand. | Invalidates page components and cache in the background. | Invalidates only the fetch requests matching the tag. |
1. Classic Approach: Pages Router (res.revalidate)
First, create a secret token known only by your Next.js application. This secret will prevent unauthorized clients from abusing the revalidation API Route. You can trigger the route (either manually, via postman, or with a headless CMS webhook) using the following URL structure:
https://<your-domain.com>/api/revalidate?secret=MY_SECRET_TOKEN&path=/blog/my-post
Next, add the secret as an Environment Variable to your hosting environment (e.g., Vercel, Netlify, or your custom .env file). Finally, create the revalidation API Route handler:
// pages/api/revalidate.js

export default async function handler(req, res) {
  // Check for secret to confirm this is a valid request
  if (req.query.secret !== process.env.MY_SECRET_TOKEN) {
    return res.status(401).json({ message: 'Invalid token' });
  }

  const path = req.query.path;
  if (!path) {
    return res.status(400).json({ message: 'Path parameter is required' });
  }

  try {
    // This must be the actual path, not a rewritten path
    // e.g. for "/blog/[slug]" this should be "/blog/post-1"
    await res.revalidate(path);
    return res.json({ revalidated: true });
  } catch (err) {
    // If there was an error, Next.js will continue
    // to show the last successfully generated page
    return res.status(500).send('Error revalidating');
  }
}
2. Modern Approach: App Router (revalidatePath and revalidateTag)
Starting with Next.js 13 and later versions (Next.js 14, 15+), route management and data caching are handled within the App Router architecture. Instead of the legacy Pages Router API response methods, you should use Route Handlers or Server Actions alongside revalidatePath or revalidateTag for fine-grained cache purging.
Here is an example of a dynamic Route Handler (app/api/revalidate/route.js):
// app/api/revalidate/route.js
import { revalidatePath, revalidateTag } from 'next/cache';

export async function POST(request) {
  const { searchParams } = new URL(request.url);
  const secret = searchParams.get('secret');
  const path = searchParams.get('path');
  const tag = searchParams.get('tag');

  // Verify the secret token
  if (secret !== process.env.MY_SECRET_TOKEN) {
    return Response.json({ message: 'Invalid token' }, { status: 401 });
  }

  try {
    if (path) {
      // Purge cache for a specific path (e.g., /blog/my-post)
      revalidatePath(path);
      return Response.json({ revalidated: true, path });
    }

    if (tag) {
      // Purge cache for a specific data tag (e.g., 'posts')
      // Affects fetch requests initiated with { next: { tags: ['posts'] } }
      revalidateTag(tag);
      return Response.json({ revalidated: true, tag });
    }

    return Response.json({ message: 'Missing path or tag parameter' }, { status: 400 });
  } catch (err) {
    return Response.json({ message: 'Failed to revalidate' }, { status: 500 });
  }
}
Now you have a dynamic API endpoint to refresh your Next.js cache. The way you trigger this endpoint depends on your backend architecture. Typically, you make a GET or POST request to this endpoint passing the path to be revalidated along with your secret token.
For my headless WordPress setup, I created a custom plugin that triggers this Next.js endpoint whenever I add, edit, or update a post, page, or category.
For detailed information, please refer to the official Next.js Incremental Static Regeneration documentation.
